How to Set Up Google Search Console?

Introduction
Setting up Google Search Console is easy. The best and the attractive part of using the tool is that it is free!
Though there are many ways to set up this, you can find the one that works the best for you.
Tools like Google Search Console are great for website monitoring. It helps to see how Google crawls, indexes, and serves your website.
Let us see how you can set up this tool and optimize the website’s search performance.
But before that read the blog further to find what is in this tool for you?
Why Google Search Console?
It will help you monitor the website traffic, make decisions that push the website in the search, and then optimize ranking.
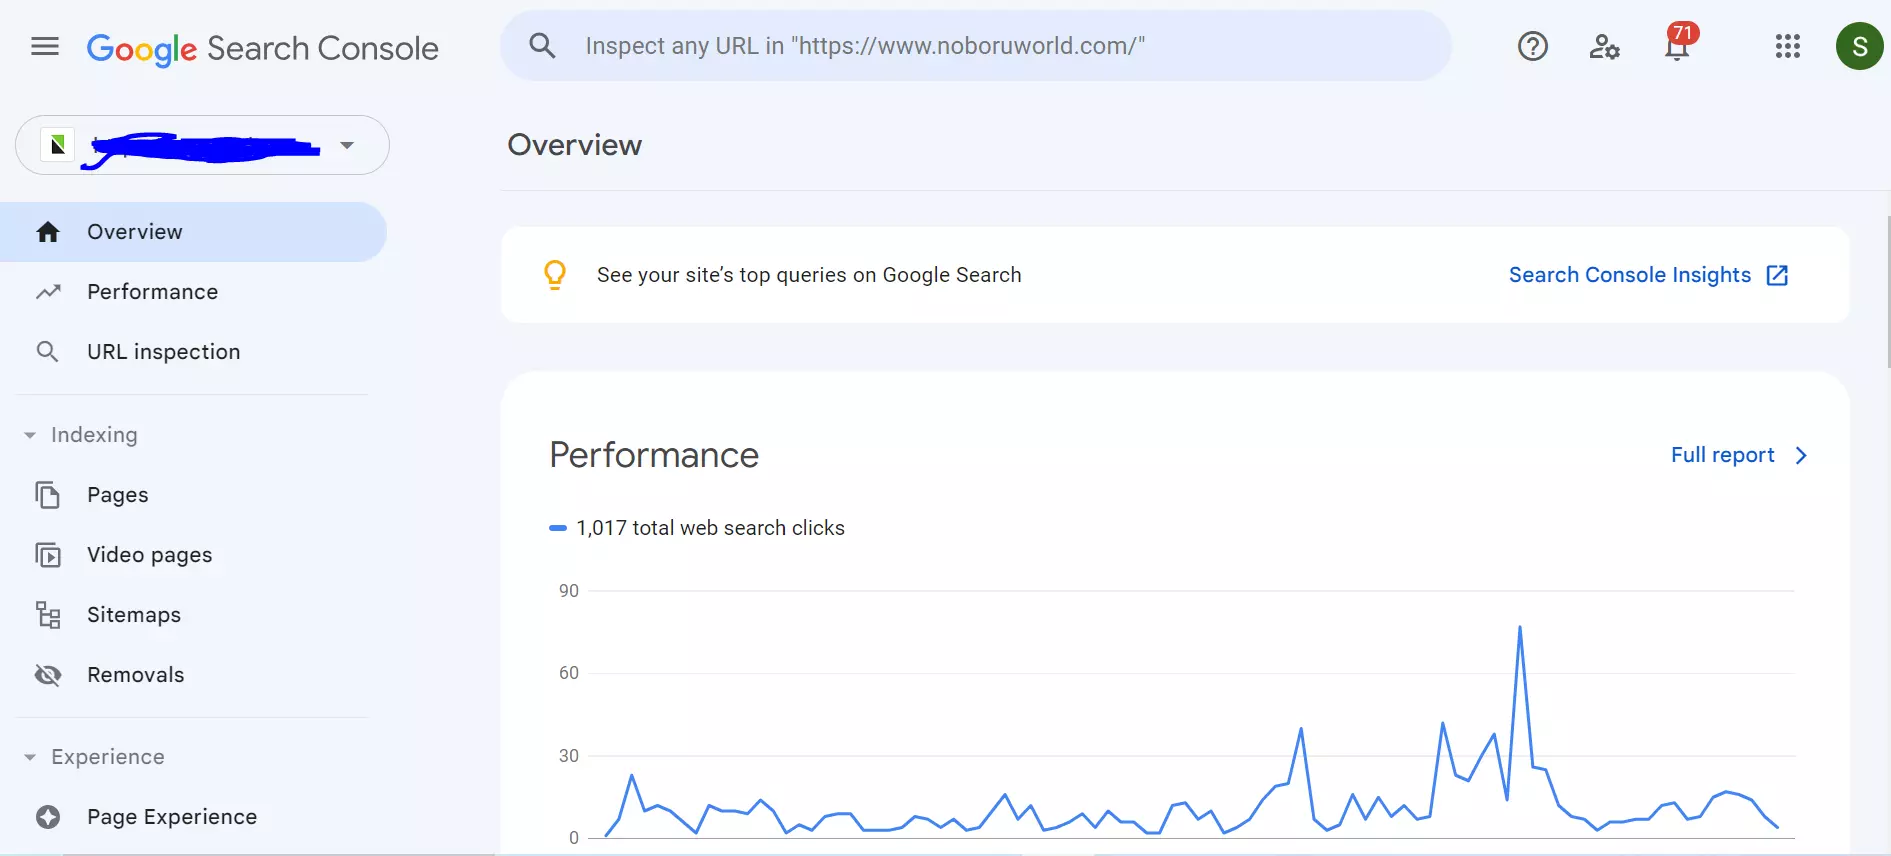
It is a powerful SEO tool that marketers or digital marketers must use to enhance their digital presence. It assists marketers to bring organic traffic to your website.
Users can elevate the performance of their website using this tool by:
- Tracking keyword rankings, impressions, click-through rate, organic traffic, and average position. They can capitalize on the low-hanging keywords or less competitive words that can enable you to rank.
- Knowing about index coverage and confirming that Google crawlers are indexing the web page.
- Submitting sitemaps, checking for removals, and disavowing files.
- Monitoring and troubleshooting Mobile Usability Issues, Core Web Vitals, and Page Experience.
- Checking security issues that Google has identified.
- Confirming that Google sees Schema.org markup.
- Analyzing backlinks, top linked pages, top linking sites, and anchor text distribution.
Knowing that there are too many benefits of this tool. Let us now know how you can set up this for your use.
How to Set Up Google Search Console?
Step 1: Add your website to Google Search Console.
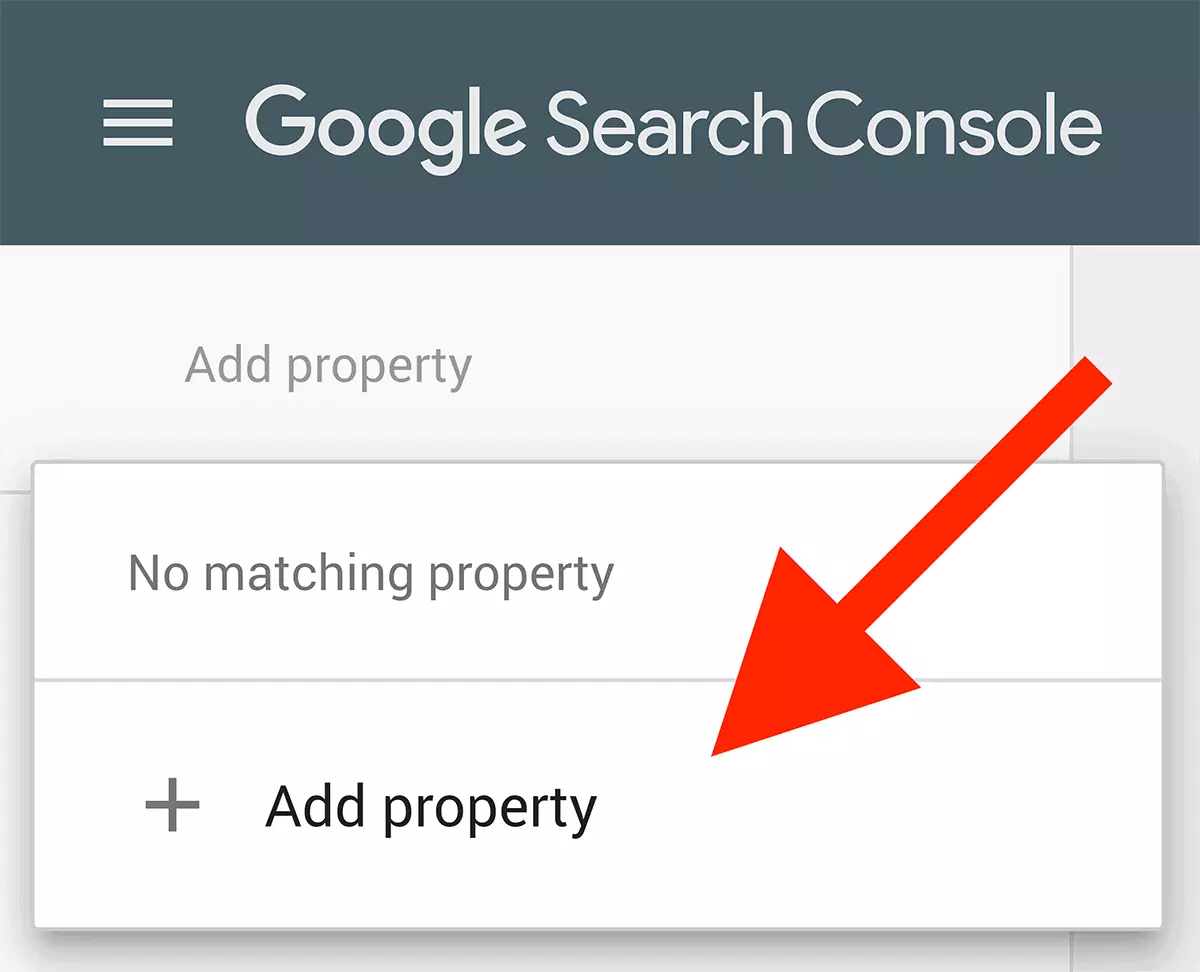
The first step to setting up this is to log in to Google Search Console. And then click on “Add Property”.
The tool will then take you to a window that looks like the one below. You will then have to write your domain and or URL prefixes.
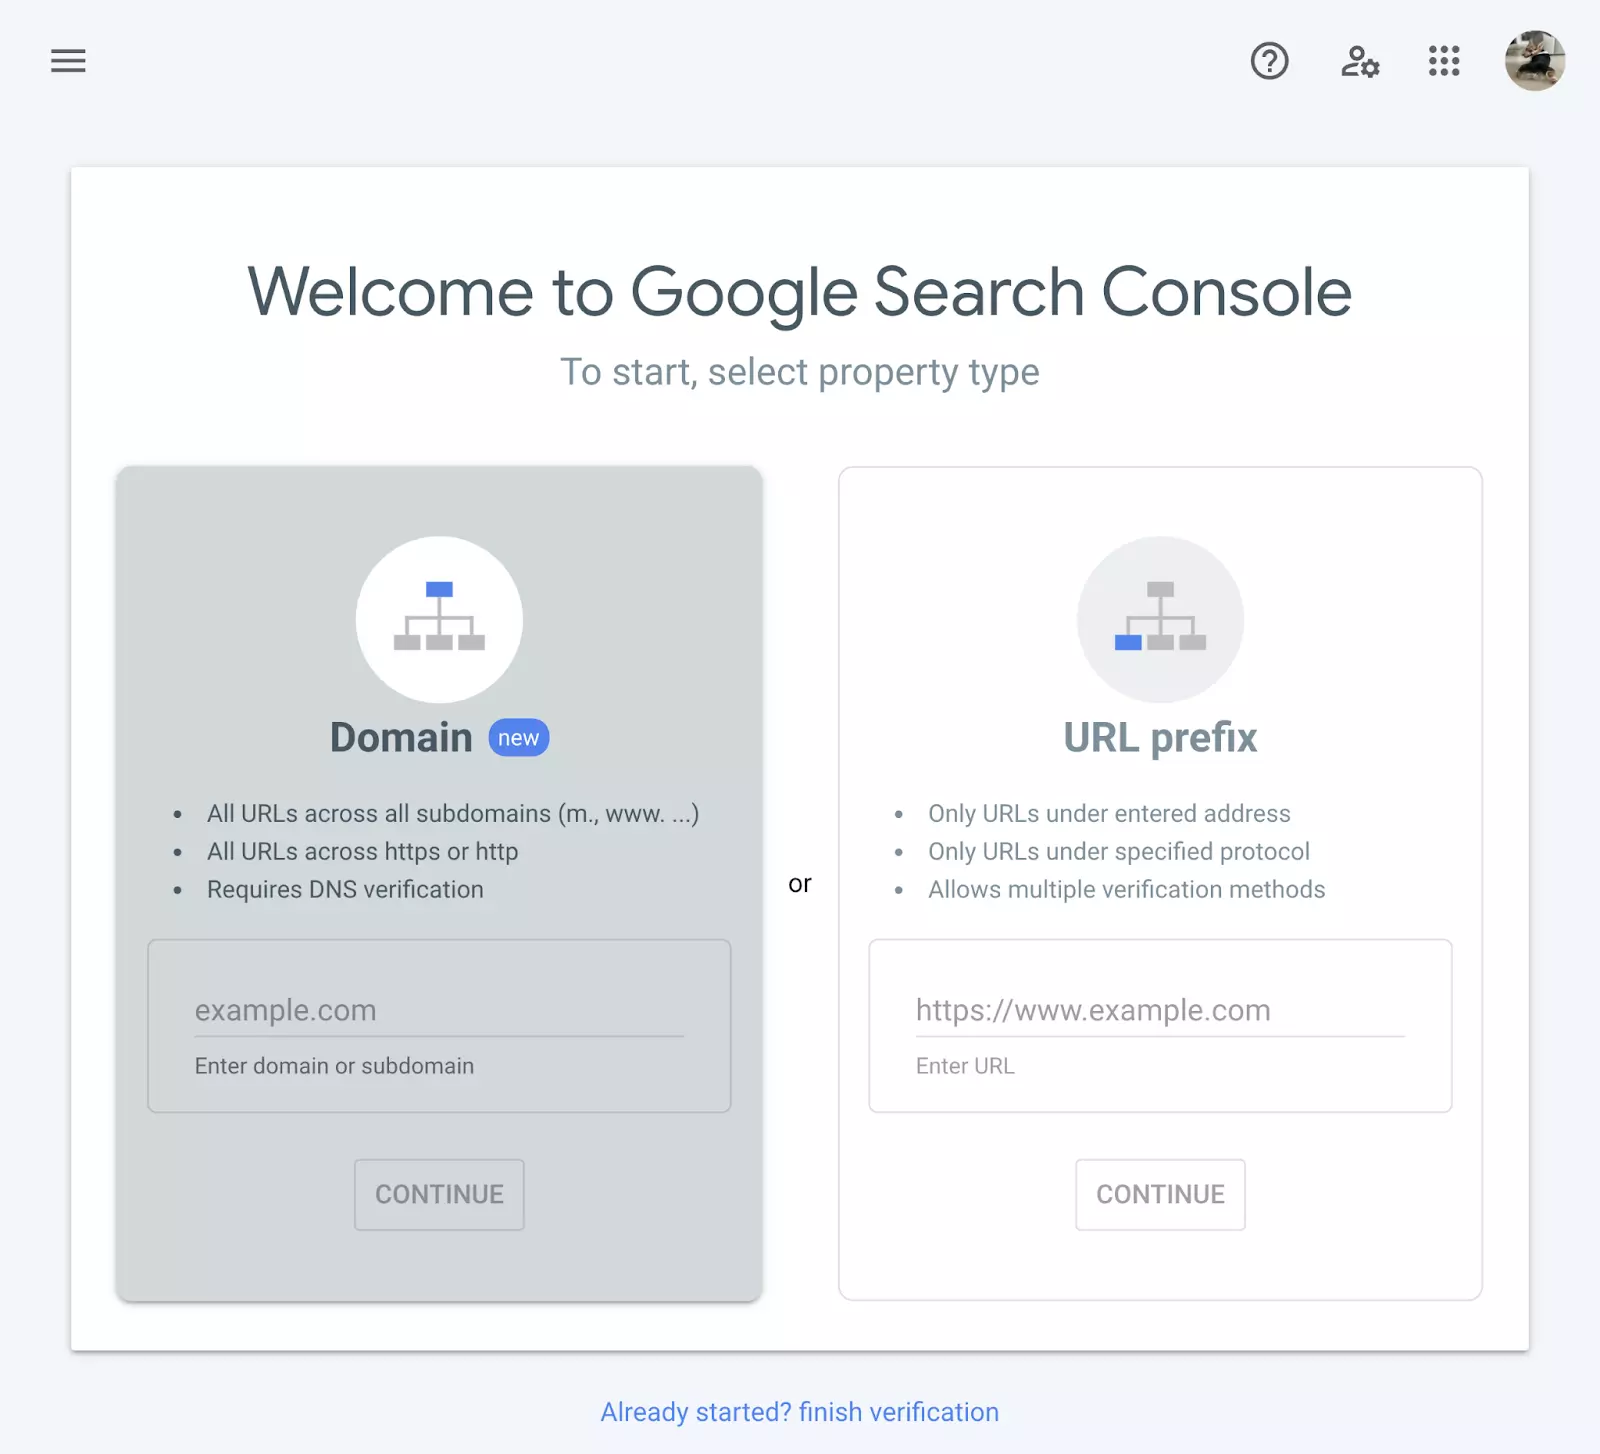
After you have entered the domain details, it is time you verify your site.
Though there are more than 5 ways to verify your website, these 3 types are the easiest.
- CNAME or TXT Record: Under this step, you add a special CNAME or TXT record to your domain settings.
- HTML File: UPLOAD a unique HTML file to your site.
- HTML Code Snippet: Simply upload a small snippet code to the <head> section of your homepage code.
Step 2: Set the target country
Set your target country enabling Google to make business easy for you.
Google will look at these data to decide to identify your target market and then display your website. The data Google considers include:
- Your ccTLD
- The server location
- The country where you get maximum backlinks from
- The language of your website
- The address listed on your website
You will make it easy for Google if you set the information about the country.
On the dashboard, you click on Legacy Tools and Reports >> International Targeting.

Then click on the “Country” tab.
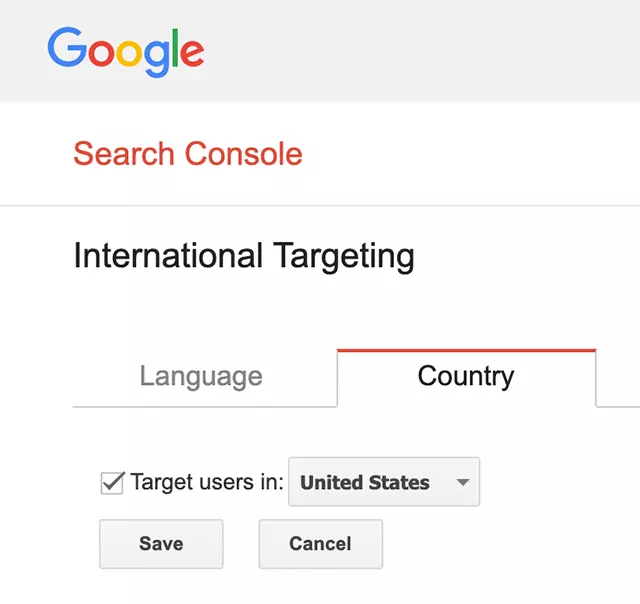
Then check the box for the target users in your target country.
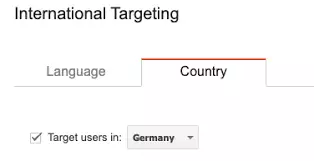
And now select the country from the drop-down menu.

Step 3: Link your Google Search Console Account with Google Analytics
Now in step 3, you will have to link your GSC Account with Google Analytics.
Open Google Analytics, and then click on the “Admin” button at the bottom left menu.
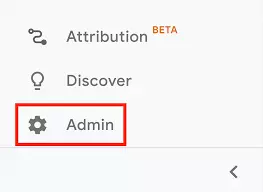
Then from Admin>> click on “Property Settings”.
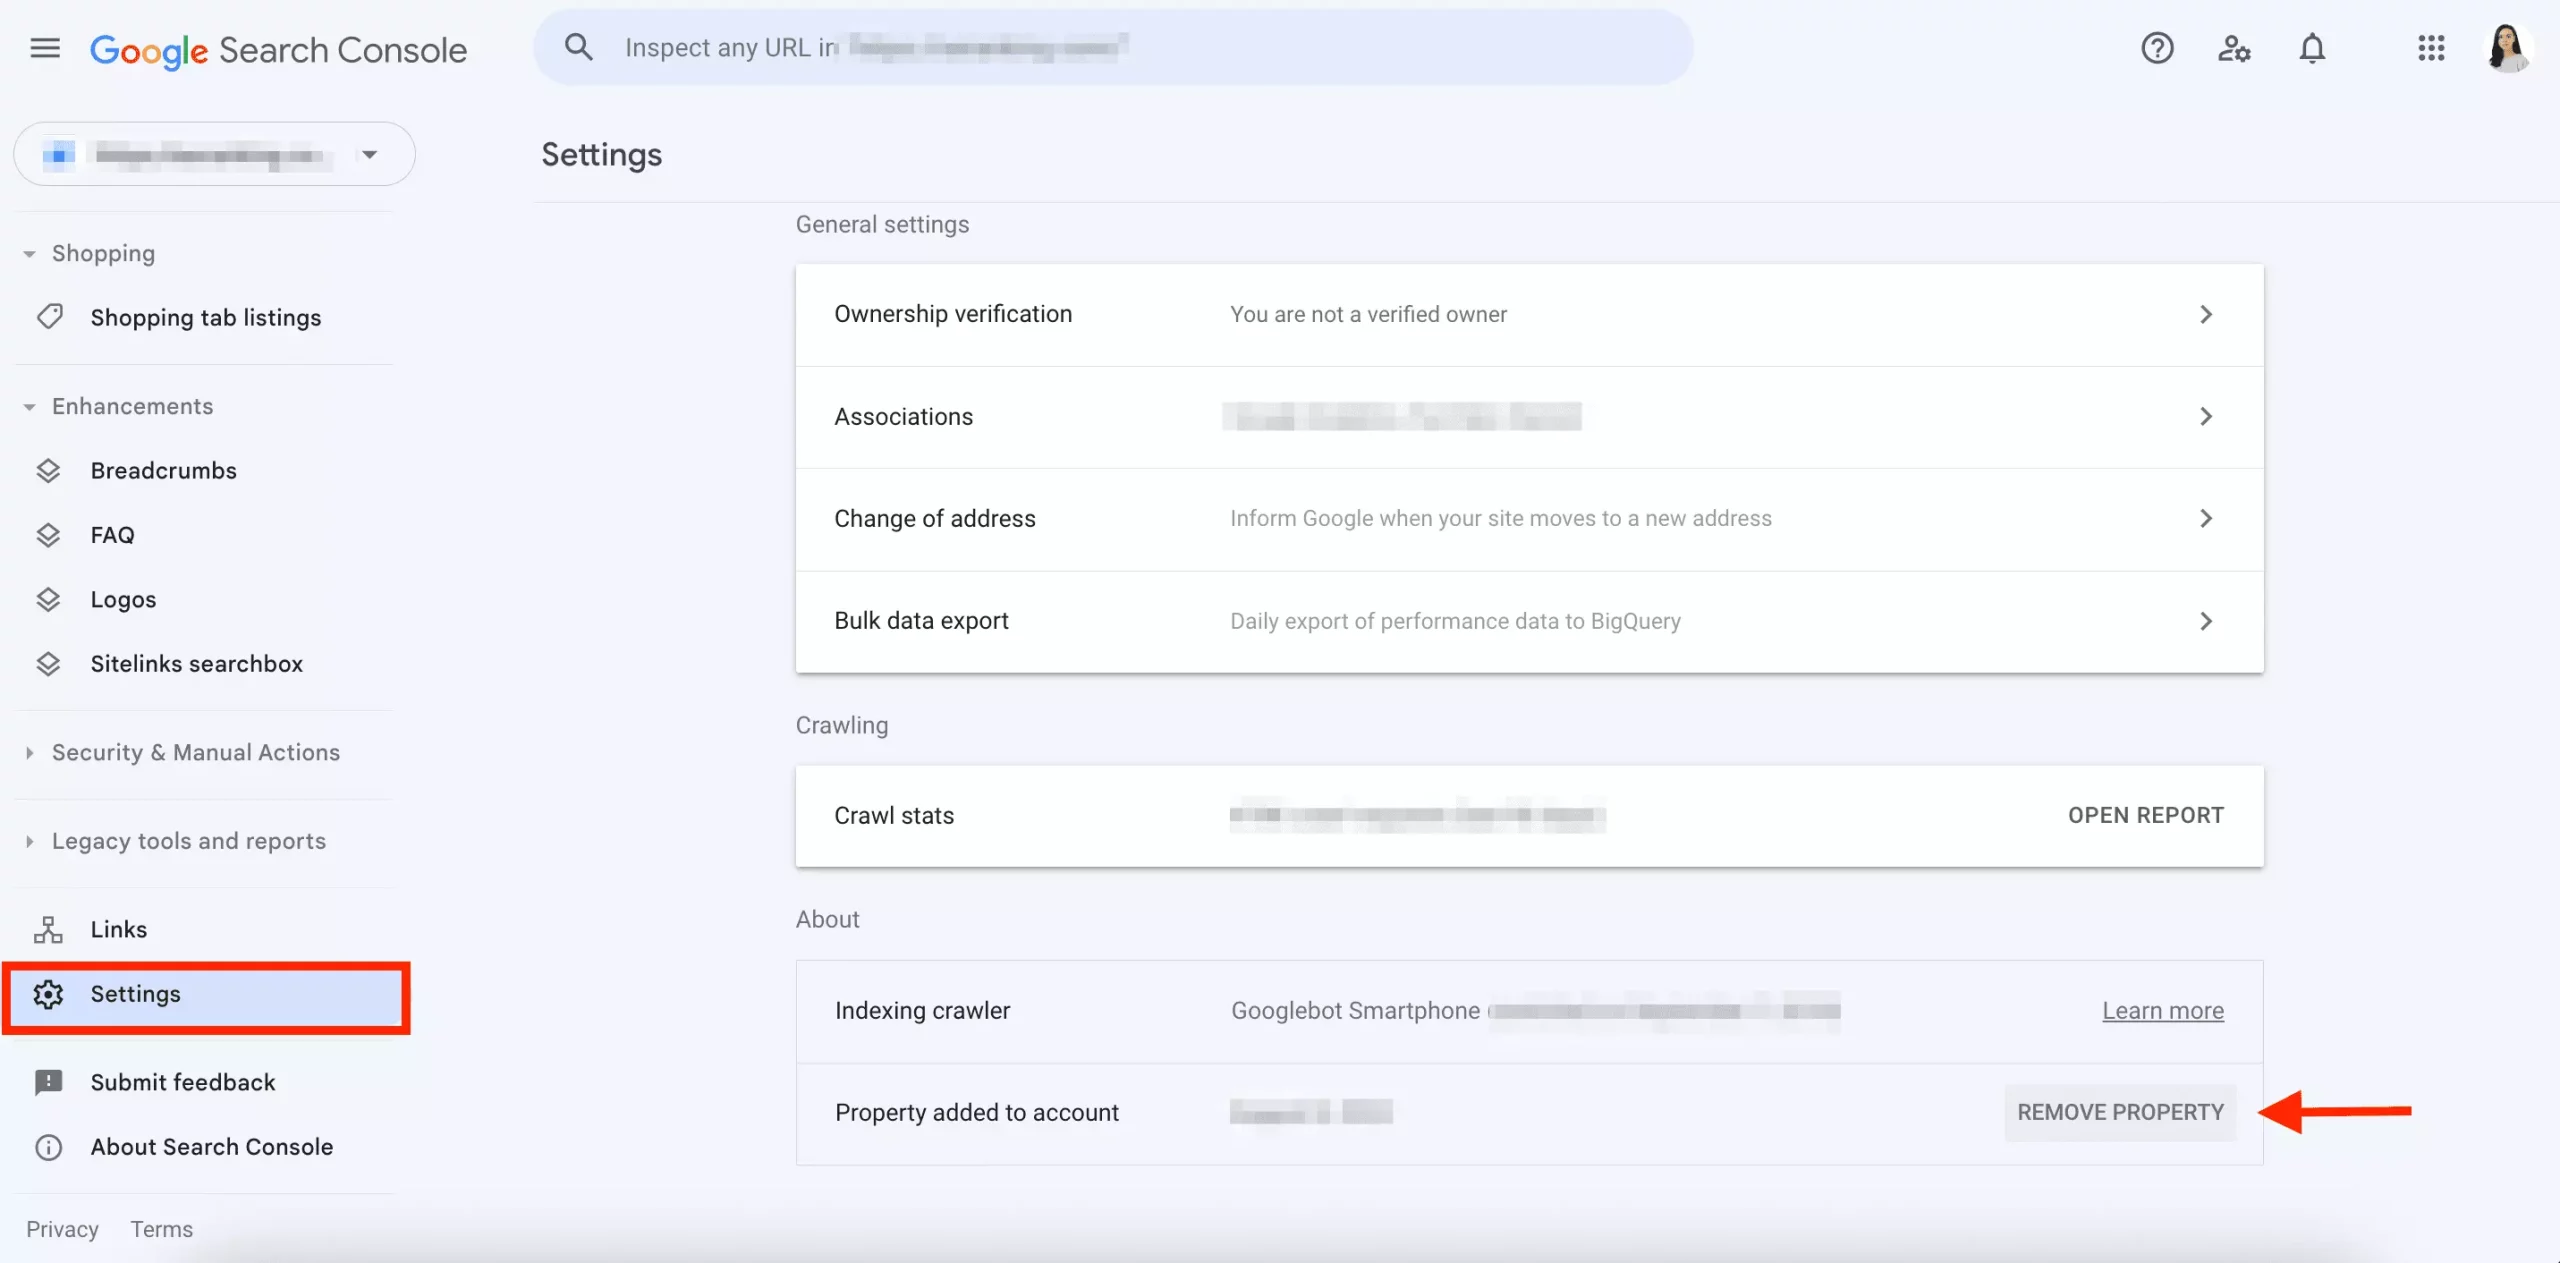
Scroll down the page. And click on “Adjust Search Console”.
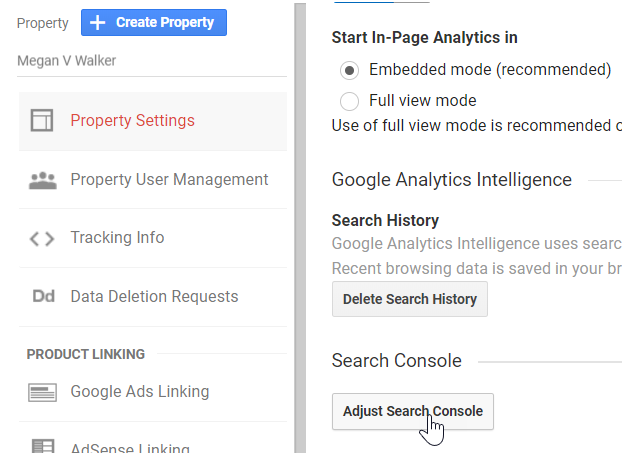
Click on “Add” and Scroll down until you find your website. Once done hit “Save”.
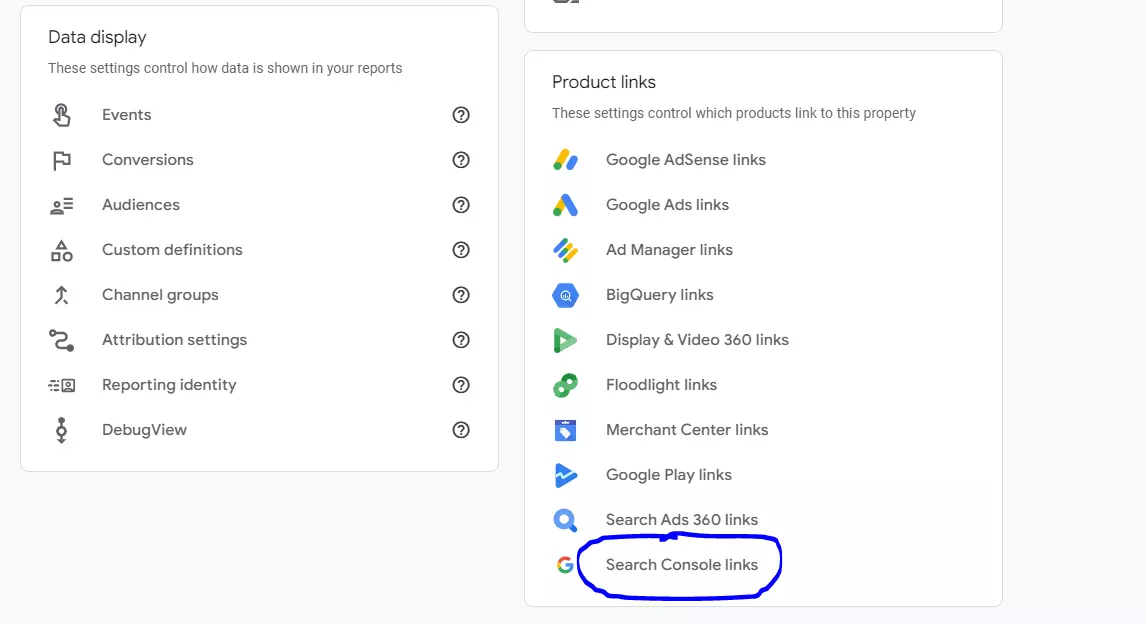
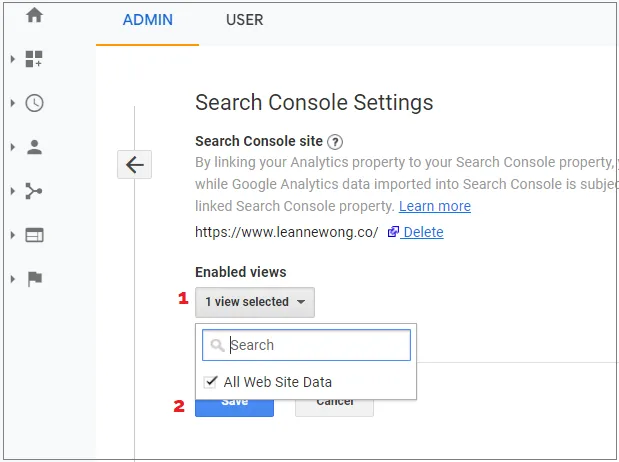
Hey! Your GSC and Google Analytics Accounts are now linked.
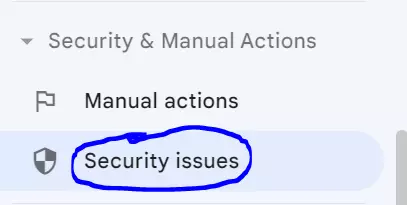
Step 4: Check for security issues.
Check your website for security issues so that it does not hurt your website’s SEO. See what report that this tool creates and then fix the issues.
Step 5: Add XML Sitemap
If your website is big and has several pages, it is important that you submit an XML sitemap. You can use Yoast to create a sitemap.
You can hit the “Sitemap” button and submit it.
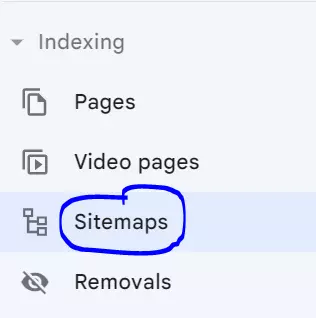
Paste your URL in the space provided and hit submit.

Setting up this tool might have looked complex to you but it is not. Use the free-web tool to utilize the strength and improve your site’s performance.
Google Search Console Set-Up On WordPress, Blogger, and Google Sites
You may also verify your website on WordPress. Two plugins that you can use in WordPress to verify the site are All-inOne SEO and Yoast SEO.
Ways to set up GSC on WordPress
Step 1: Again create a GSC Account and add a URL-prefix property as shown above also.
Step 2: Repeat the step of copying the HTML tag.
Step 3:
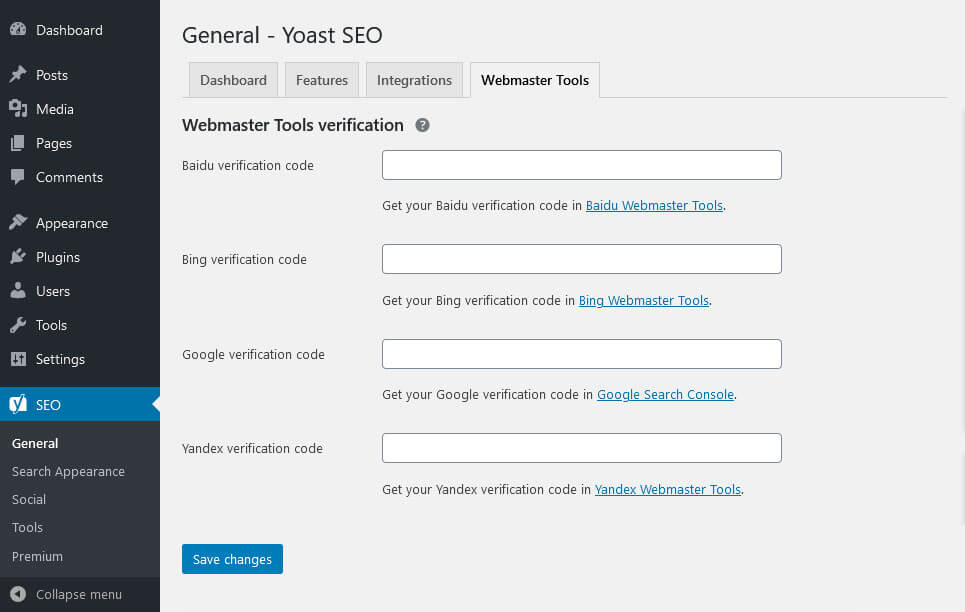
- If using Yoast SEO, go to SEO >> General. Then hit “Webmaster Tool”. Then paste your HTML tag on the Google Verification code and then hit “Save Changes”.
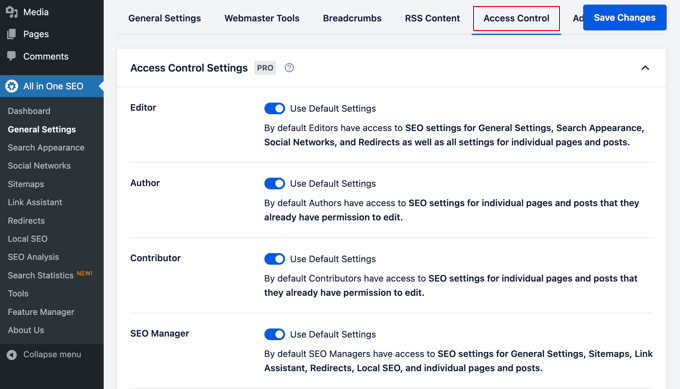
- When using All-in-One SEO, go to “General Settings”. Paste the HTML tag into the field for Google Webmaster Tools and then hit “Update”.
Source: wpbeginner
Step 4: Verify the account on GSC.
Ways to use GSC on Blogger or Google Sites.
Step 1: Log in to your account and verify it with HTML Tag.
Step 2: Use the dashboard to view analytics and reports.
Conclusion
It is a tool that is exclusively dedicated to improving the website’s search performance. You do not have to monitor the website daily in GSC because the tool is smart enough to notify you asap when it spots any error or loopholes in the website.
Google Search Console is the right way to improve factors that affect ranking, produce high-quality content, and drive organic traffic.
If you are looking for quick growth in the website’s organic traffic, it is important you align your resources and strategies. Work on the technical SEO using the Google Search Console tool.
We can help you in monitoring the website’s performance and generate reports. You can reach out to us at hello@localhost.
For in-depth information on Google Search Console have a look at our blog: Complete Guide On Google Search Console In Just 30 Minutes!


We would love to have your opinion.